Background
Backgrounds can be added to your photo products to enhance their visual appeal. Unlike fill boxes, which can be freely positioned and resized, backgrounds fill the entire page in the photo product. You can access different background options by clicking the Background button in the right-hand menu.

At the top of the Background menu you will find the Delete button to delete the background from your photo product. For multipage products, such as Photo Books, clicking Apply to all pages will apply the background to all the pages in the photo product. Clicking Delete all will remove all used backgrounds.
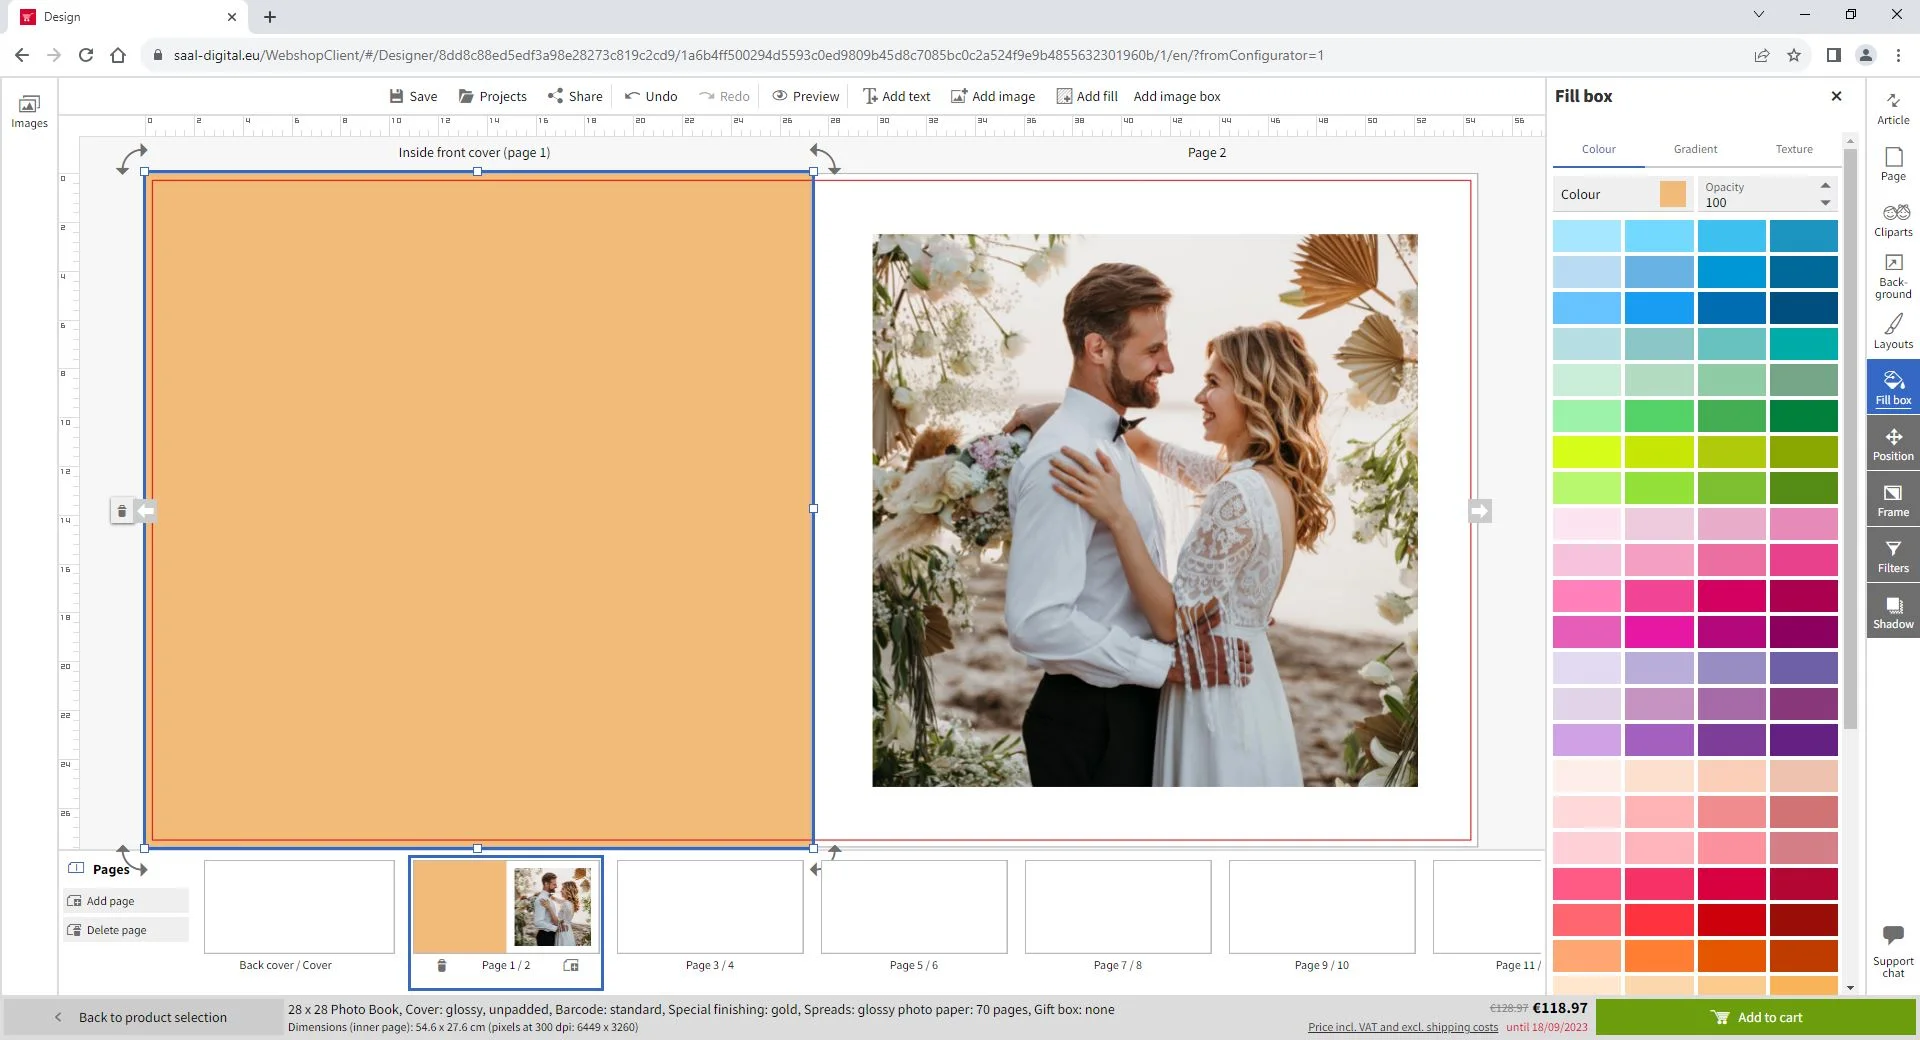
It’s important to note that backgrounds are applied to both sides of a multipage photo product. If you want to customise the background for a single page, you’ll need to add a fill box and configure it to your liking.

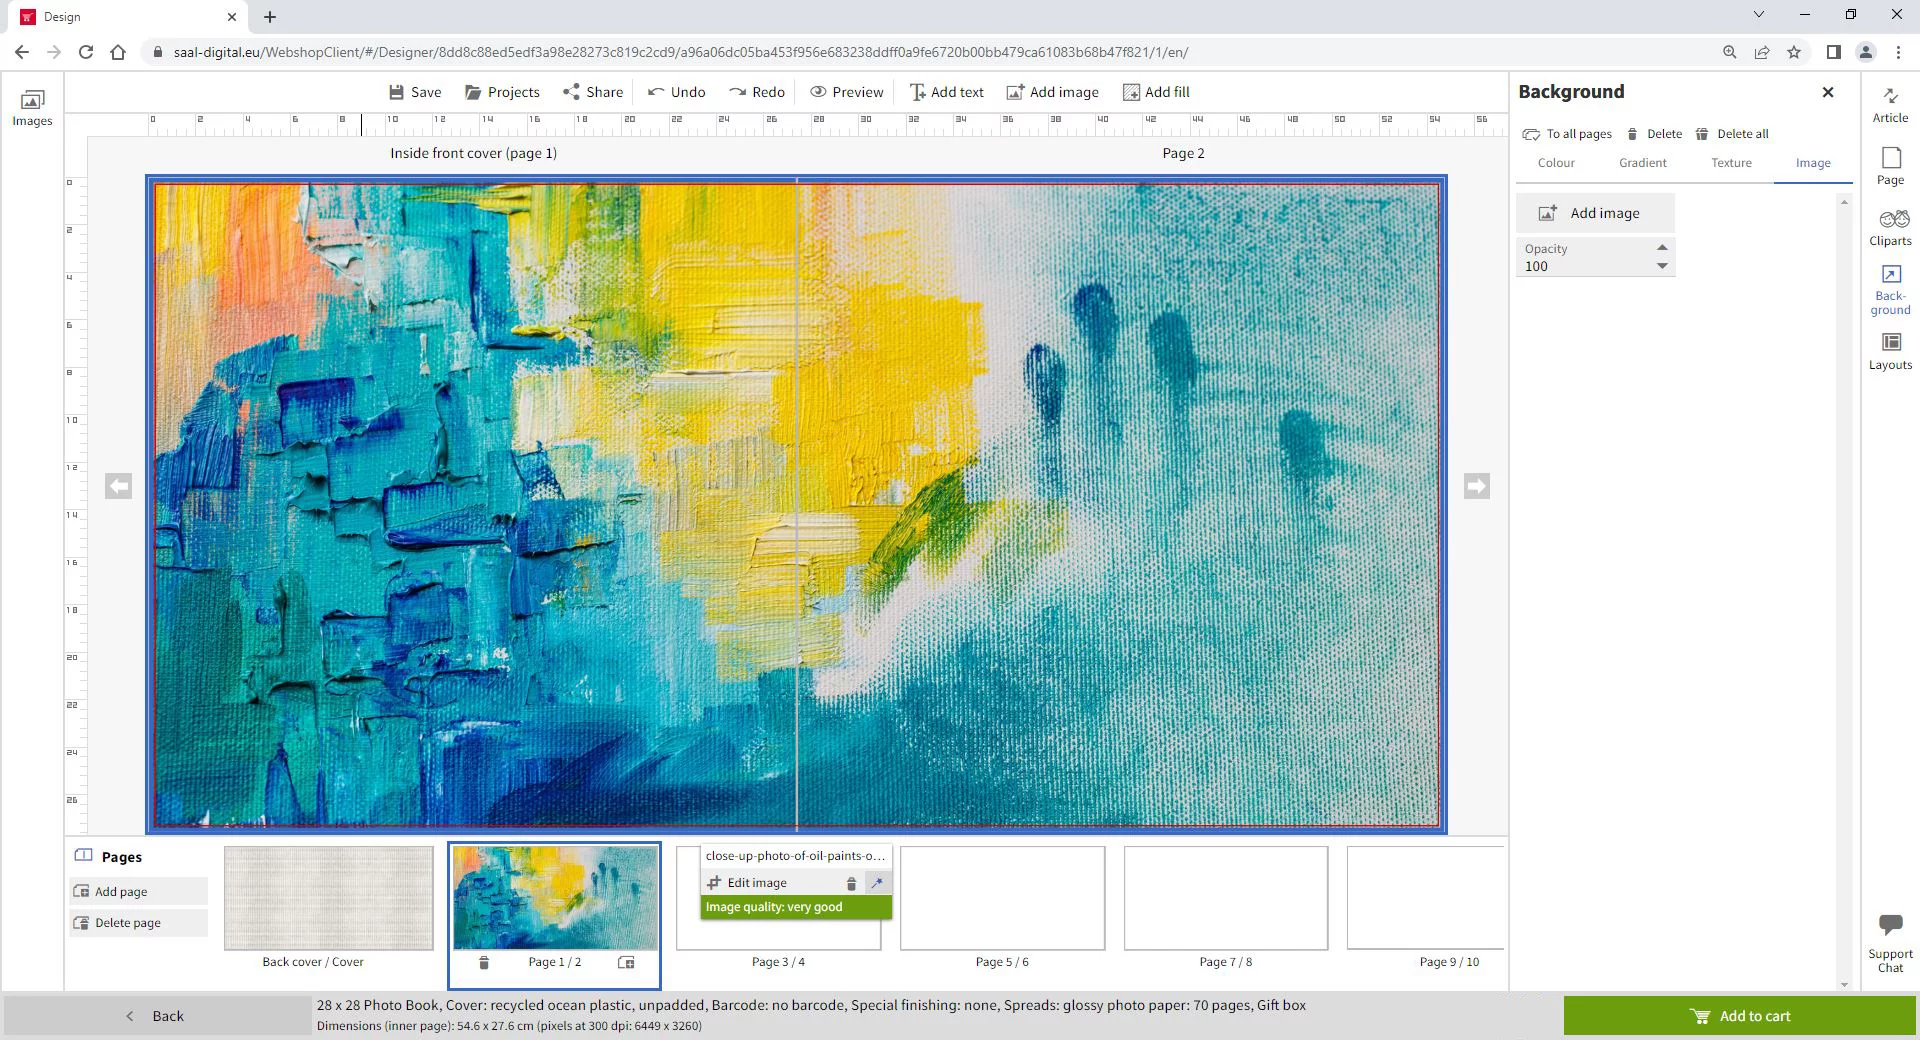
Like the fill boxes, the backgrounds can be selected and configured as Colour, Gradient and Texture. You can also select Image for backgrounds. When this option is selected from the Background menu, the Add image button appears. Clicking this button brings up the option to add an image from your local device or online resources.

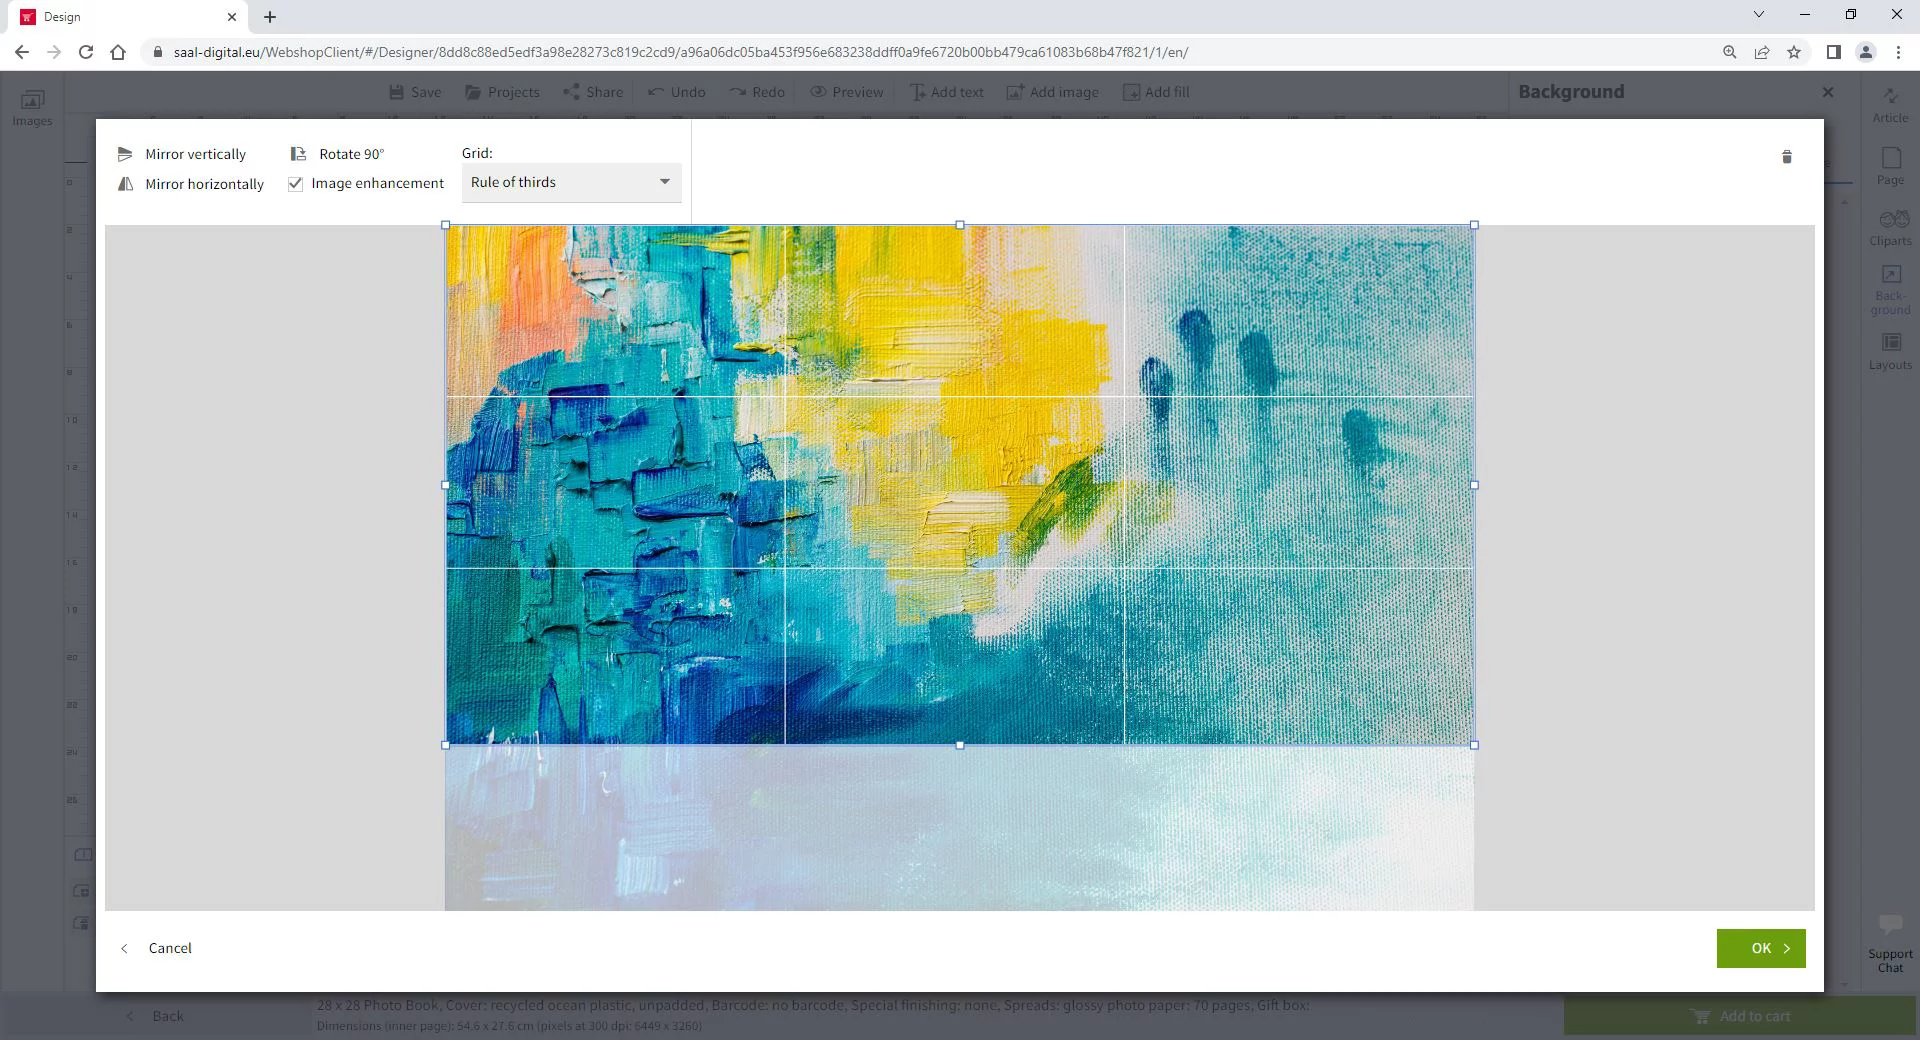
Once selected, the photo will be placed as the background. In the Background menu, on the Image tab, you will find the Opacity field. You can set how transparent or opaque the image appears. The background image can be adjusted by selecting it and clicking on the Edit Image button.

As with the other images, you can flip the image vertically and horizontally, rotate it by 90 degrees, activate image enhancement, reposition the image or delete the image if necessary.

Alternative method for using images as a background
It is possible to add images directly from the left column as a background. When dragging a photo from here, the option as background will appear. Dragging the photo here will place the photo as background of the photo product.

Favourite Backgrounds
It is possible to mark your favourite backgrounds to make them easier to find. When hovering over a background, an empty heart icon is displayed. Clicking on it will fill the heart icon, marking the background as a favourite. By clicking on the filled heart icon, the background will no longer be marked as a favourite.
By selecting the Show only favourites checkbox, only backgrounds already marked as favourites will be displayed within each category.


